
 Welcome to my little part of the crafty blog world.
I'm super excited to be a part of 'My Favorite Block Quilt Along'. The awesome host, Kim, has short interview with me over at Persimmon Dreams.
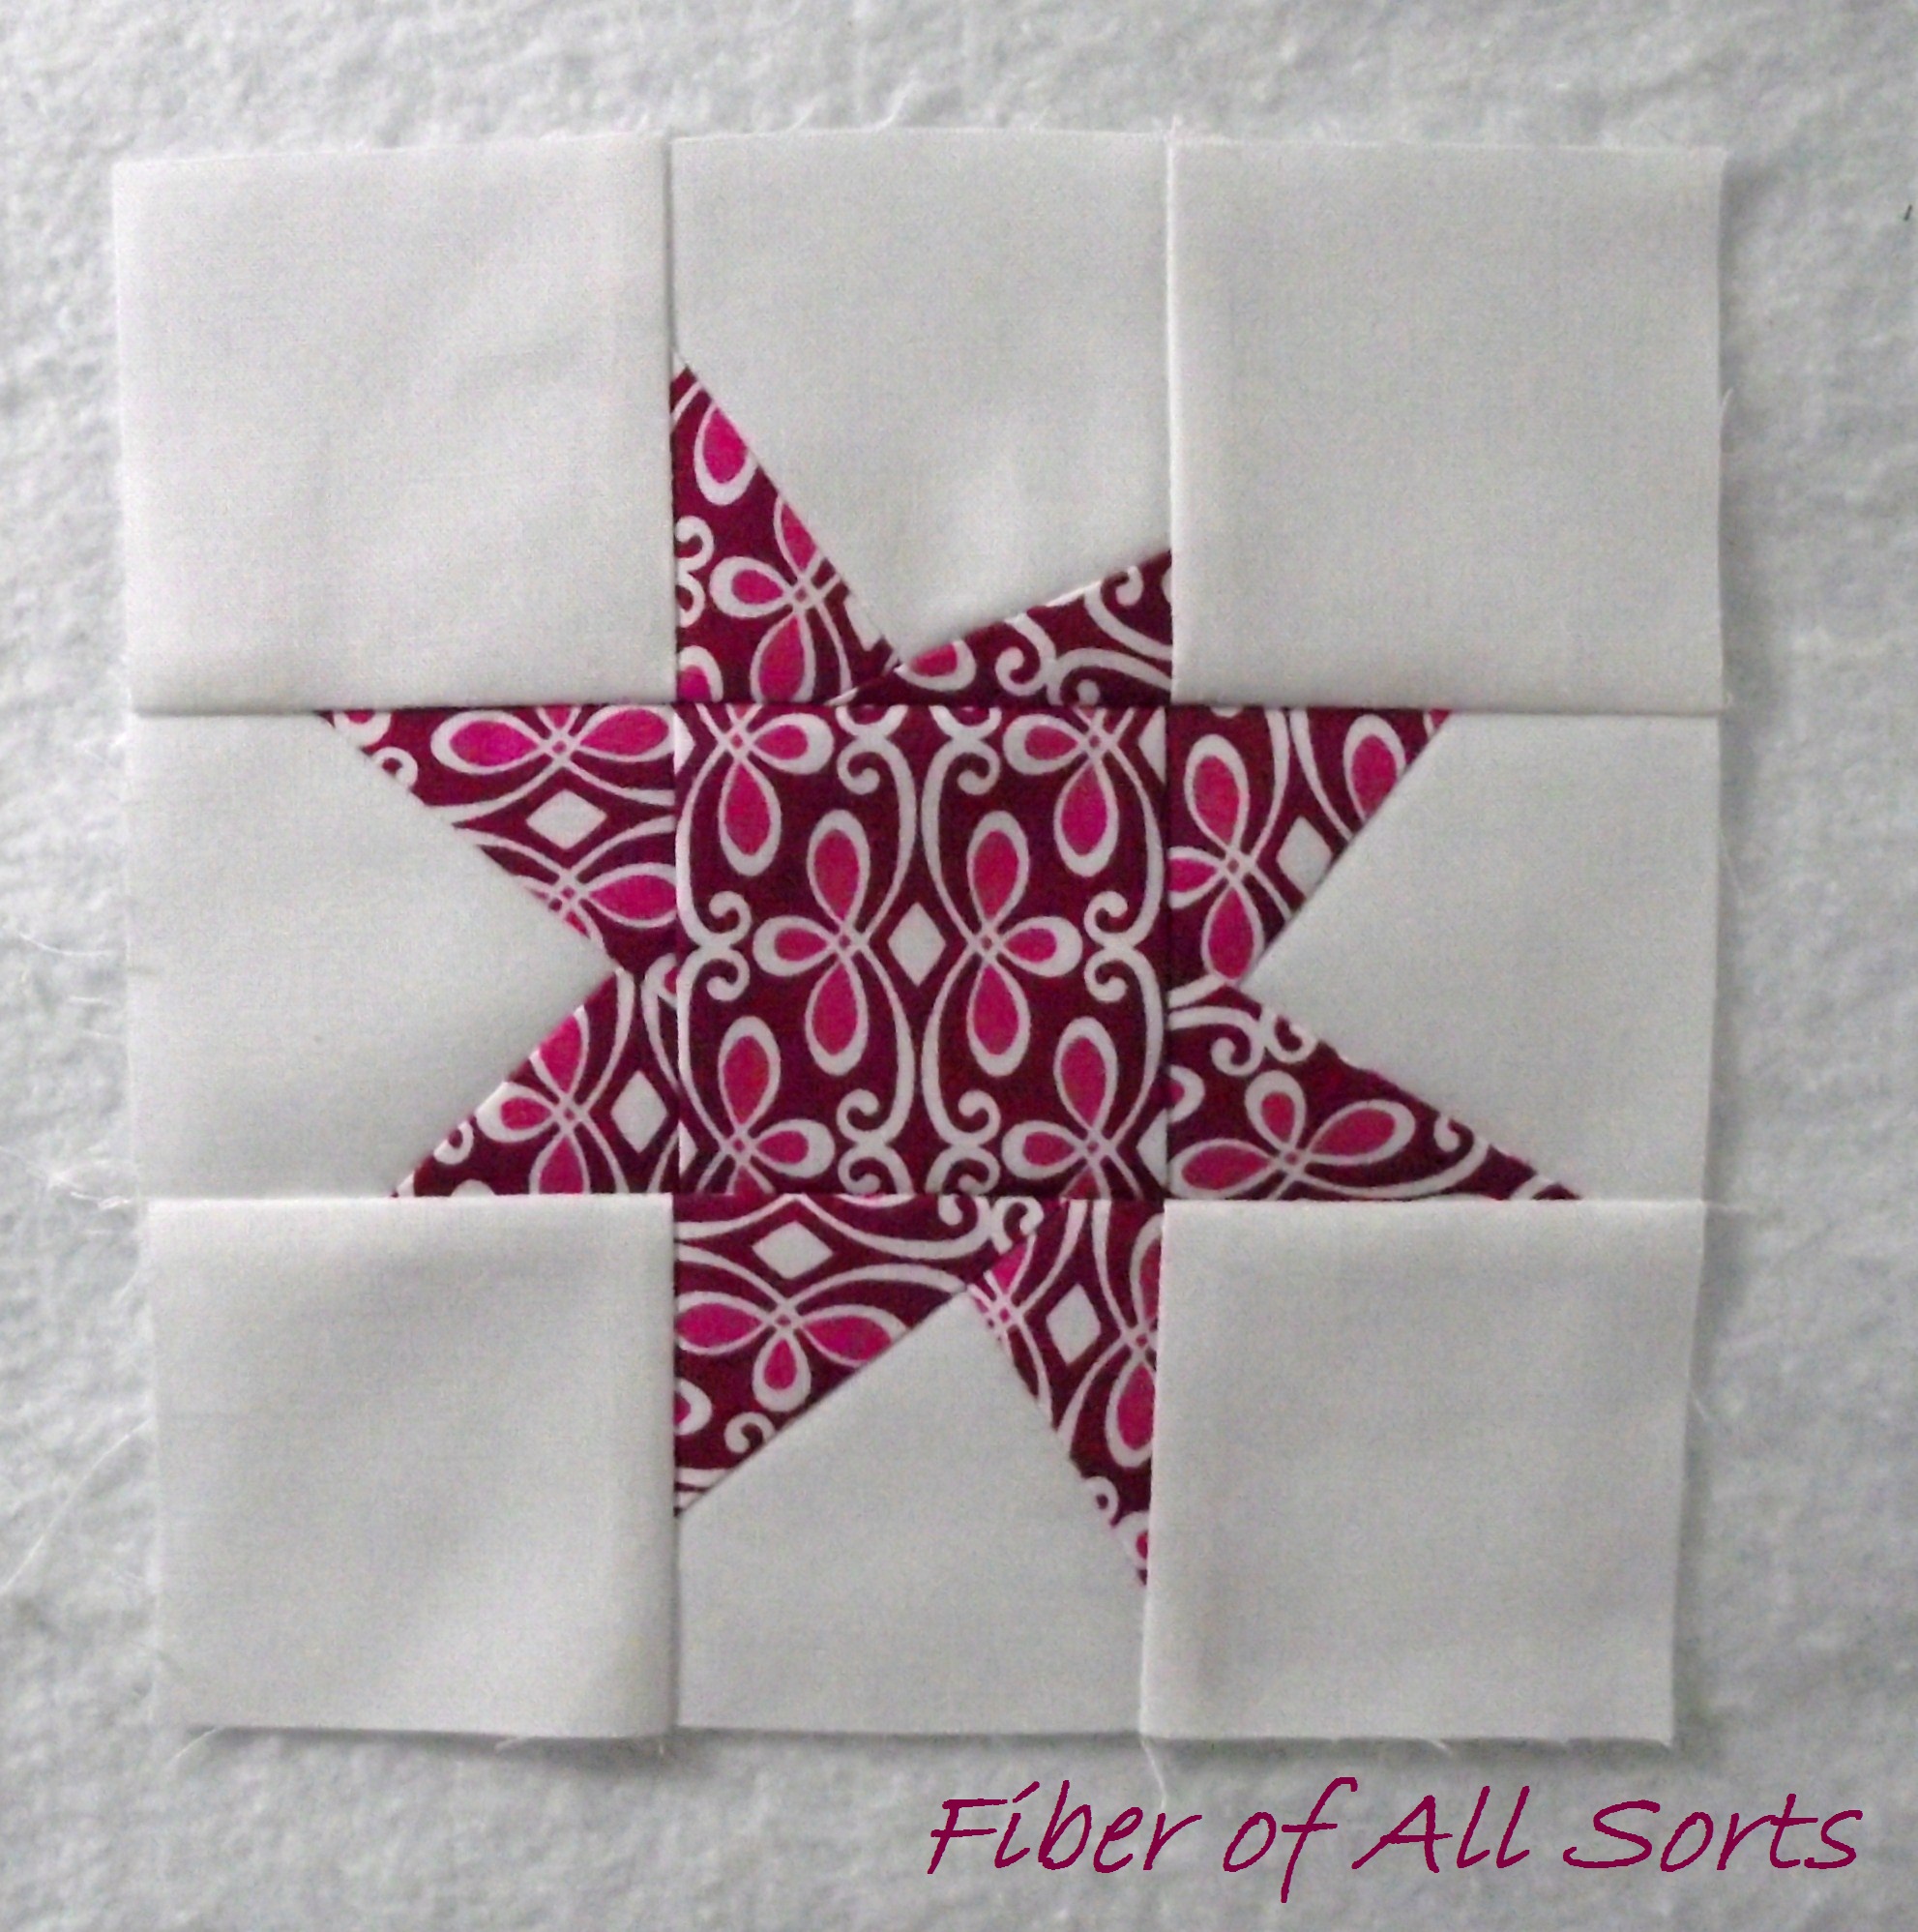
Trying to choose one favorite quilt block proved to be harder than I anticipated. I finally landed on the Wonky Star.
My personality leans towards straight, symmetrical, and perfect blocks but this layout gets me to step out of my comfort zone and create something on the fly! All in all, this block is good for me.
Here's my little tutorial :)
My personality leans towards straight, symmetrical, and perfect blocks but this layout gets me to step out of my comfort zone and create something on the fly! All in all, this block is good for me.
Here's my little tutorial :)
Wonky Star

Materials:

For a 12” finished block (12.5” unfinished block)
Cut 8 – 4.5” x 4.5” background fabric(s)
Cut 1 – 4.5” x 4.5” center fabric
Cut 4 - 4.5” x 4.5” star point fabric(s) *
For a 6” finished block (6.5” unfinished block)
Cut 8 – 2.5” x 2.5” background fabric(s)
Cut 1 – 2.5” x 2.5” center fabric
Cut 4 - 2.5” x 2.5” star point fabric(s) *
*If you want a little extra leeway make these 0.5” larger (especially on the smaller blocks)

Above photo is for reference. This is the layout of the all your pieces, with the star point fabrics on the outside of the background fabrics they will be sewed on
Construction:
1/4" seams throughout
1/4" seams throughout
1. Cut your 4 star point fabrics and cut them in half.

2. On one background fabric place one star point. I usually test how wonky I want my points to be. Make sure the star point fabric covers the background fabric. The background fabric is your reference.

Below is what NOT to do. This is easy to do on the smaller blocks so check, check, and double check.


3. Sew, trim background fabric, press.

4. Repeat for 2nd star point. Sew, trim background fabric, press.


5. Now trim block to original background size (on all sides).

6. Repeat steps 2 – 5 for all four star points.
7. Assemble your 9-patch.

Suggestions on pressing: I’m a press to the side kind of gal because I feel it gives more stability in the finished product and my mother taught me to do this. I do highly suggest nesting your seams. I’ve added a photo as examples of how I’ve put together my blocks.

Finished blocks:
12.5” unfinished block

6.5” unfinished block
You can mix it up with tons of combinations of background, star, and center points. I love gathering my inner wonk!


This beauty was entirely from scraps. I starched each piece and cut 1" strips and went to town. The seams are bulky but - ohhhh soo cute!
Remember to check out the other 20 designers over at Persimon Dreams main page for this QAL. Make sure to check out Karen over at Little Birdie Quilting with her fantastic strippy leaf block from Tuesday - it's fantastic!
I can't wait to see what people make.
~~~
Thanks for stopping by! Please feel free to check out my other blog posts. And a monthly linky party, hosted by Melissa of Sew BitterSweet Designs and myself, 'A Lovely Year of Finishes' where you finish up your projects and you can enter to win prizes.

Fun wee stars :o)
ReplyDeleteThis is a very LATE "Thank You" for sharing your Wonky Star Block! This morning when I left a comment on today's block, I realized that I had not thanked everyone for sharing for the My Favorite Block Quilt Along. I love your Wonky Star Block and your instructions were clear and easy to follow. I made 2 --- 6 inch stars and I plan to make more! Thanks so much!
ReplyDeleteThis is great! I was googling wonky stars tonight, and it hadn't occurred to me that I was "allowed" to use one print for the entire star .... Off to sort my leftover charm packs by colour (but its late enough that I should save the cutting for tomorrow.
ReplyDeleteSarah